Important Notes
- Availability: VLAN configuration is available only after a site has been deployed.
It applies exclusively to sites with Private IP configurations. Sites configured with Static Public IPs (LAN or Gateway) do not support VLAN configuration.
Read-only sites permit viewing only. - Site Summary Visibility: New VLAN creations are instantly reflected on the Site Summary page.
- Blocked IP Type Changes: If a site has active VLANs configured, changing the site's IP type (e.g., switching from Private IP to Static Public IP at LAN/Gateway) in Service Orders is blocked until all associated VLANs are removed. Read Configuration dependencies for more details.
How to configure VLAN
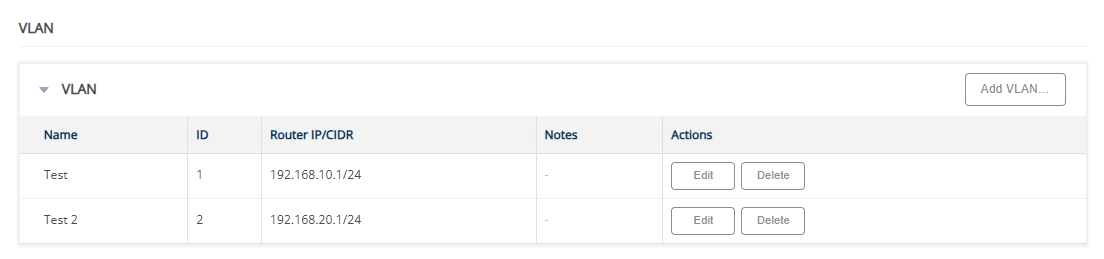
Navigate to Customer > LAN Configuration > VLAN to manage your VLAN settings.
To Add a VLAN
1. Under VLAN section, Click Add VLAN.
2. Complete the required and optional fields in the Add VLAN form:
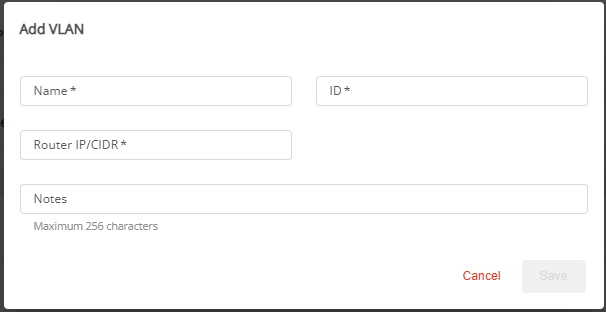
- Name (required): Unique descriptive title for the VLAN.(Maximum: 128 characters)
- ID (required): Unique numeric identifier. (VLAN Tagging range: 1–4094)
- Router IP/CIDR (required): Subnet and mask in CIDR notation. (e.g. 192.168.1.0/24)
- Notes (optional): Additional details. (Maximum: 256 characters)
The system displays an error message when a user enters a duplicate or invalid VLAN name/ID, or if the router IP/CIDR is invalid or overlaps another subnet (LAN, VLAN, routable subnet, or Mobile Connect) in the network. 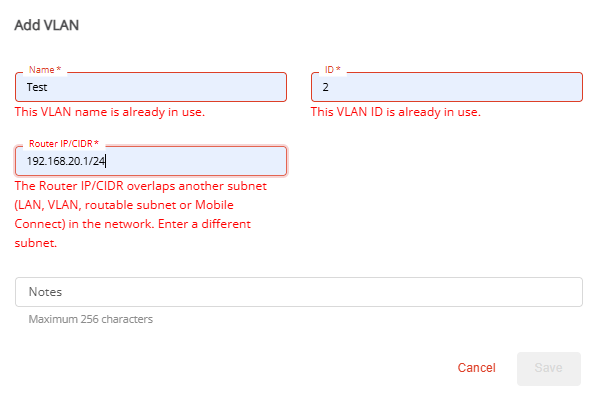
To Edit a VLAN
1. Select the VLAN you want to edit from the list, then select Edit (in Actions column). 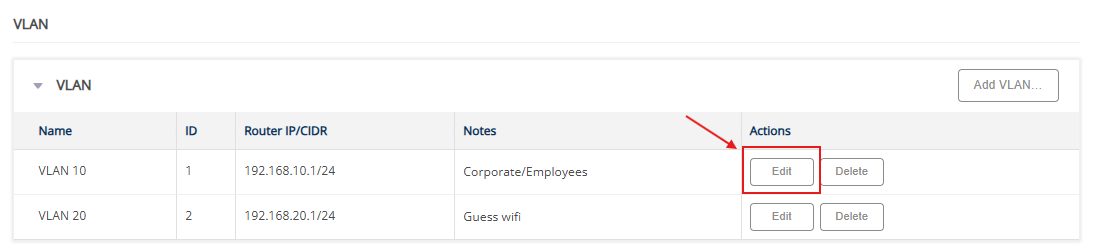
2. Modify the VLAN Configuration details as needed.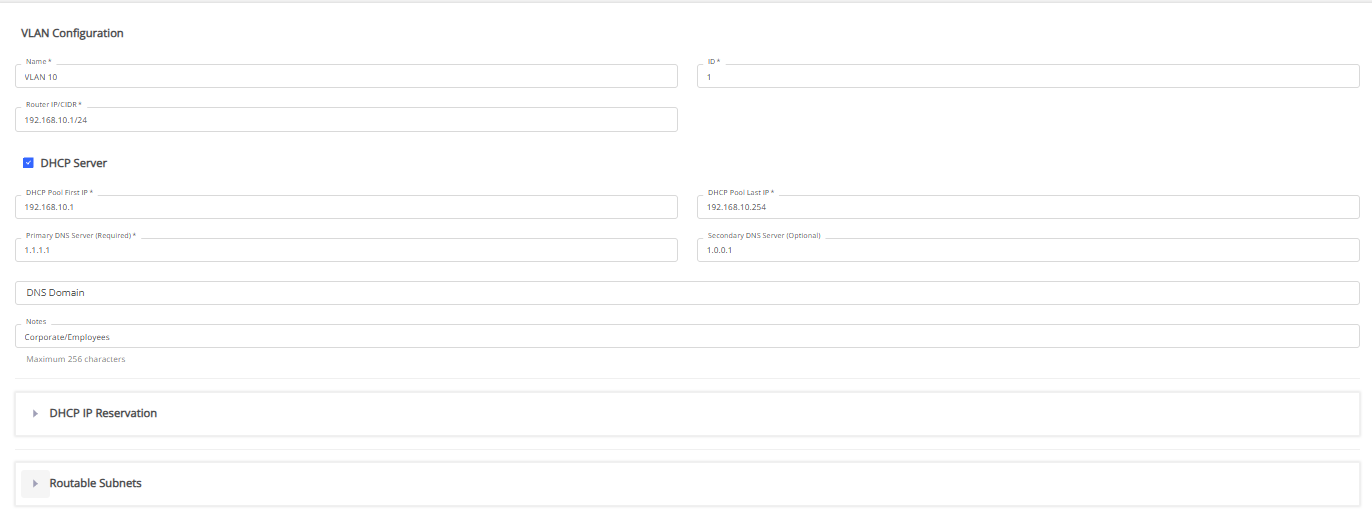
3. Click Save to save the modified VLAN details , then click Update to apply the changes to the device configuration.
To Delete a VLAN
1. Select the VLAN you want to delete from the list and click Delete. (in Actions column). 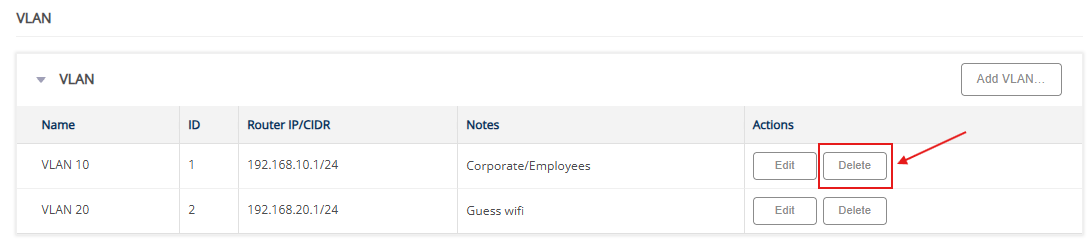
2. Delete VLAN dialog appears.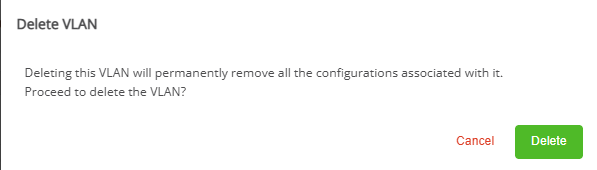
3. Click Delete to permanently remove the VLAN configuration, or click Cancel to exit without making changes.